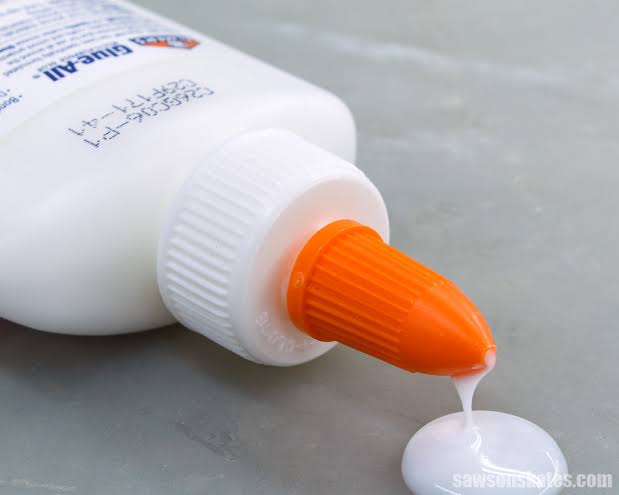
Polyvinyl acetate (PVA) glue is one of the most versatile adhesives ever manufactured. The glue has become a staple in crafting and DIY projects due to its incredible adaptability and ease of application.
We’ve identified various ways PVA glue may unlock your creative potential. Read below as we unpack PVA’s numerous applications and how to make the most of this adhesive.
Common Uses of PVA Glue
1. Crafting
Polyvinyl acetate is the go-to adhesive for many crafters. PVA is the crafters ‘ choice, whether it’s adhering paper, gelling cardboard, or binding fabrics.
Some common crafting projects where PVA glue may be useful include card-making and scrapbooking. Stay-at-home parents can also use the adhesive to create beautiful home party decorations.
2. Woodworking
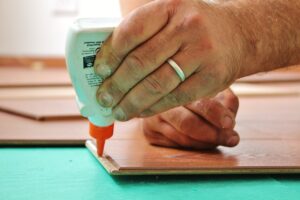
Bonding wood requires a stronger glue than what’s commonly used in other DIY crafting projects. That’s why many woodworkers prefer PVA to alternative adhesives.
PVA offers immense bonding capabilities. The glue is a staple in woodworking and joinery applications, including furniture making and cabinetry installation.
Wooden pieces joined with PVA glue are almost impossible to remove once the adhesive dries up.
3. Home Renovations
Not every home repair requires a home renovation technician. Some could quickly be fixed with a little know-how and the right tools.
PVA glue is a reliable adhesive for minor home repairs. You can use the adhesive to reattach wallpaper, repair picture frames, and even fix broken wooden furniture.
A YouTube tutorial with PVA glue will be helpful when undertaking sensitive projects. Remember to proceed cautiously to avoid further damage to the broken parts.
4. School Projects
PVA glue boasts many features that make it a favorite for learner’s keen on unlocking their creative potential through school-based projects.
The adhesive is easy to apply. It’s also safe due to its non-corrosive nature, which makes it suitable for the young and inexperienced.
5. Bookbinding
PVA glue has also found its place in professional bookbinding. Thanks to its strength and flexibility, the glue can effectively bond voluminous pages together.
To create durable books that can withstand the test of time, you’ll need to apply a bookbinding tape over the spine once the PVA glue dries out. A duct tape or washi tape can get the job done pretty well.
6. Fabric Bonding
Bookbinders aren’t the only DIYers that can benefit from PVA’s incredible flexibility. The glue may also help bond different fabrics together, usually aligning them without necessarily using pins.
Sewers can apply PVA glue as a transitory bond before kick-starting their sewing projects. The adhesive firmly holds the textured pieces, while its non-stick nature prevents it from causing a mess.
Note that PVA is also washable. So, when done with your project, you can quickly wash the adhesive away without it leaving residues on your fabrics.
7. Model Making
Model makers may rely on standard adhesives for paper-based models. However, we cannot say the same about plastic or wooden models, which typically require stronger glues to bond.
PVA’s widespread application in woodworking and joinery makes it a welcome inclusion in modeling projects using diverse materials.
8. Slime Making
Slime making has taken the internet by storm, and PVA glue is right at the center of that craze.
PVA’s thick consistency and compatibility with differently-textured materials explain its common inclusion in slime-making recipes.
The adhesive bonds strongly to borax, baking powder, and other slime-making ingredients.
How to Properly Use PVA Glue
1. Prepare the Surface Adequately
The efficiency of PVA glue largely depends on the surface condition to which you apply it on.
Always start by cleaning the surface of any dust, dirt, and debris. The cleaning methodology depends on the object you’re working with.
While you can use water for wood and fabrics, paper may simply need to be wiped down with a soft piece of clothing. If water is involved, allow the surface to dry completely before proceeding to the next step.
2. Apply the Glue Evenly
Setting PVA glue on a surface works in a more or less similar manner as regular paint.
Although you can opt for layered applications, an even coat will bring out the most in your projects.
Applying the adhesive evenly lets it dry uniformly, thereby preventing weak spots.
3. Clamp Down
You may not need to clamp down PVA glue if working with lighter DIY projects, such as card-making. However, clamps will be necessary to create a stronger bond with heavier projects.
Clamps exert additional pressure on the bonded objects, creating a robust connection.
If a clamp is difficult, you can achieve the same results by placing weights on the freshly-bonded materials.
4. Let It Dry
PVA usually dries out within 15 – 30 minutes of application. But for optimal results, let the adhesive sit for several hours or overnight.
Be sure to also follow the manufacturer’s recommendation for the ideal drying times based on the project you’re working on.
Once the PVA is completely dry, scrape any excess glue from the surface using an adhesive remover. This helps produce a clean finish, boosting your project’s aesthetic appeal.
Wrap Up
PVA glue is undoubtedly the most versatile DIY adhesive. However, the ultimate secret to using this glue. Each assignment will determine the amount of PVA you can apply and the duration the adhesive takes to dry out, among other parameters.


